We still have a couple of months until most lay their stove up for the summer. Once you have come to the end of the stove season, it’s advisable to give it a thorough clean. Regular cleaning is essential to maintain its efficiency and safety. Over time, ash, soot, and creosote build-up, which can affect performance and even pose a fire risk.
Here are some useful stove-cleaning tips:
What You’ll Need:
Protective gloves
A dust mask
A small shovel and ash bucket
A stiff-bristle brush
A vacuum cleaner
Glass cleaner or a vinegar-water solution
Paper towels or a microfiber cloth
Stove polish (for cast iron stoves)
Step 1: Let the Stove Cool Completely
Before cleaning, make sure the stove is completely cool. Cleaning a hot stove can be dangerous and ineffective, as soot and ash can become airborne.
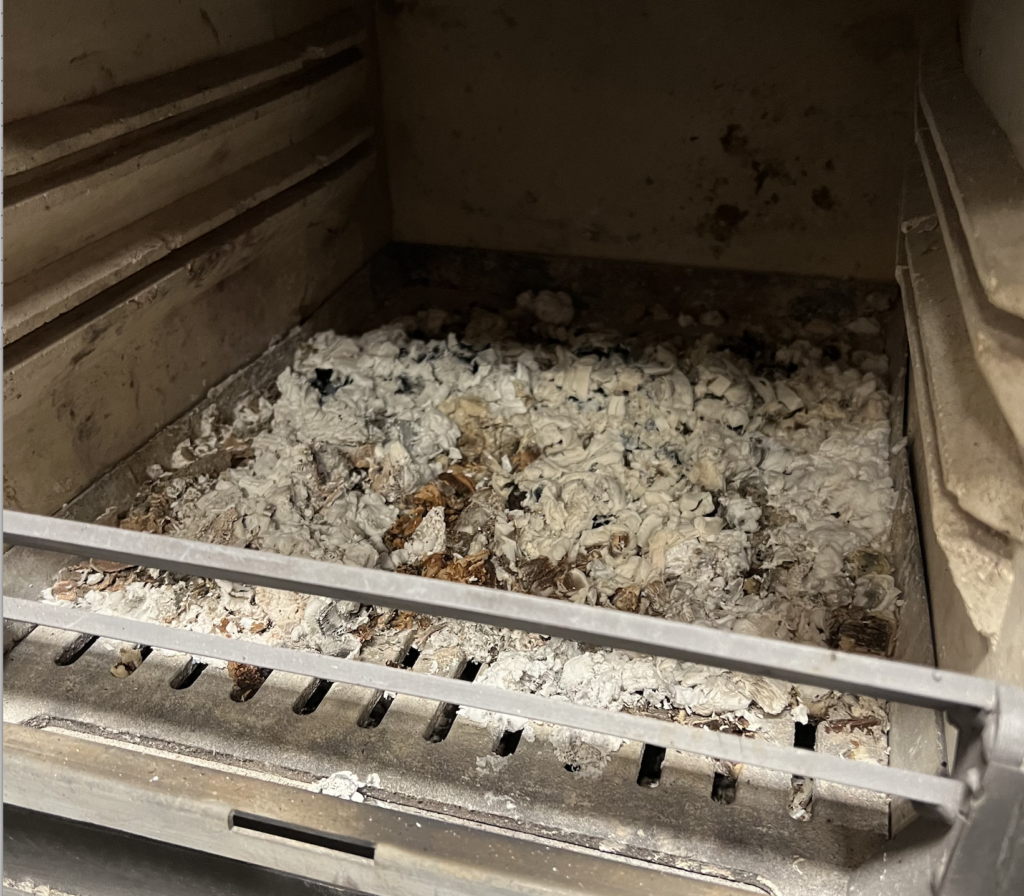
Step 2: Remove the Ashes
Use a small shovel to scoop out ash from the firebox and place it into a metal bucket. Dispose of the ashes safely—consider using them in a compost pile or as a garden fertilizer. Avoid leaving excess ash in the stove, as it can hinder airflow and efficiency.
Step 3: Clean the Interior
Use a stiff-bristle brush to scrub the walls and base of the firebox, removing any stubborn soot and creosote deposits. If necessary, use a vacuum with a HEPA filter to clean up fine ash particles. A HEPA (High-Efficiency Particulate Air) filter is a type of air filter designed to capture airborne particles as small as 0.3 microns in diameter. These filters are commonly used in vacuum cleaners, air purifiers, and HVAC systems. They remove dust, pollen, pet dander and other fine particles from the air, including ash dust.
Step 4: Clean the Stove Glass
Over time, soot can cloud the stove’s glass window. To clean it:
Use a specialised stove glass cleaner or a homemade solution of vinegar and water. Dip a damp paper towel into some cool ashes and use it to scrub the glass—this acts as a mild abrasive. Wipe with a microfiber cloth or paper towel to remove residue. Vinegar is excellent at cleaning glass due to its acidity and the streak-free finish it can give. It’s also non-toxic and natural, plus it’s also very cheap.
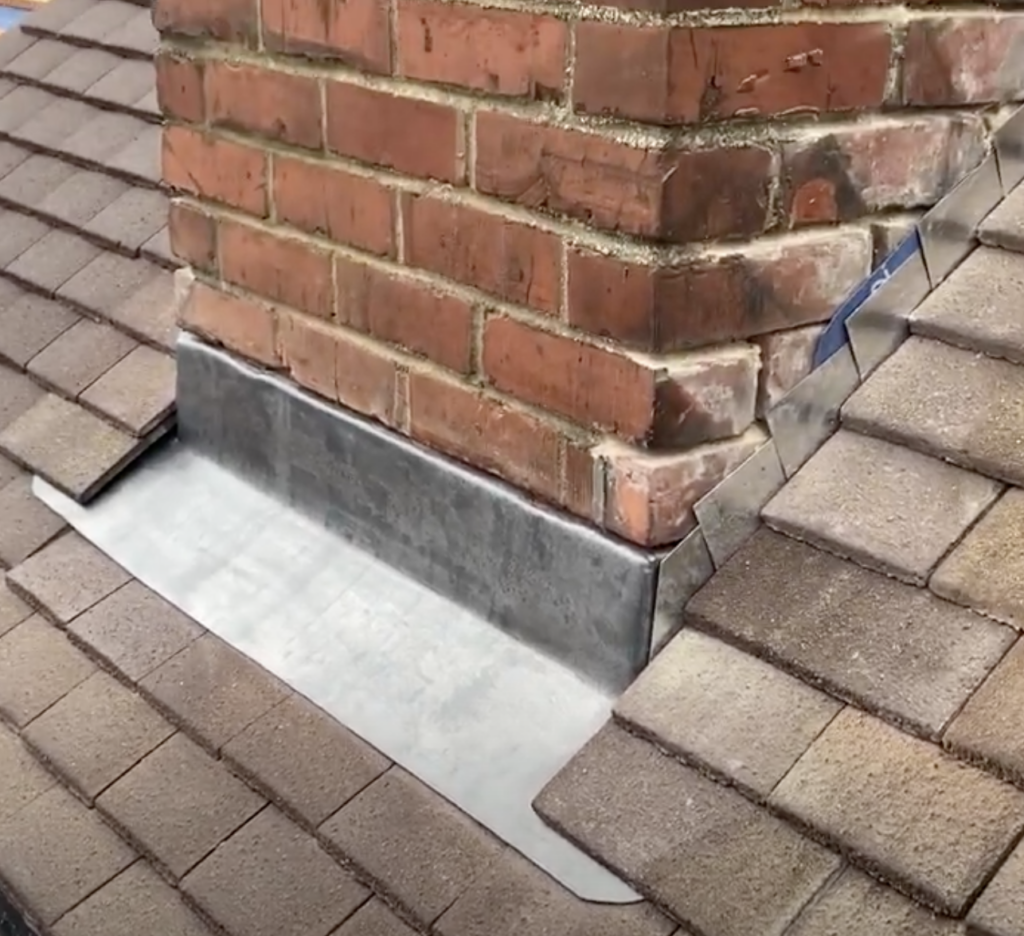
Step 5: Inspect and Clean the Chimney
A clogged chimney can cause dangerous creosote buildup, increasing the risk of chimney fires. While a professional chimney sweep is essential, you can check for blockages using a flashlight and remove any loose soot with a chimney brush.
Before you lay up your stove for the summer, one final sweep is recommended. By having one final clean before the summer, you can feel confident that there will not be any excessive tar or other deposits sat in your flue over the months of inactivity. When autumn approaches, and you want to start using your fire again, you won’t be sweeping away months-old debris. Having your chimney swept on a regular basis and before the summer can also help reduce acid corrosion. Acid corrosion, which can occur in chimneys due to how the fire is operated, can lead to structural deterioration in both the chimney lining and the flue, which can cause serious problems. Having your chimney swept can help reduce this problem. Learn more about what chimneys do.
Step 6: Polish the Exterior
For cast iron stoves, applying stove polish or black grate polish can help maintain the finish and prevent rust. Wipe down with a microfiber cloth after applying.
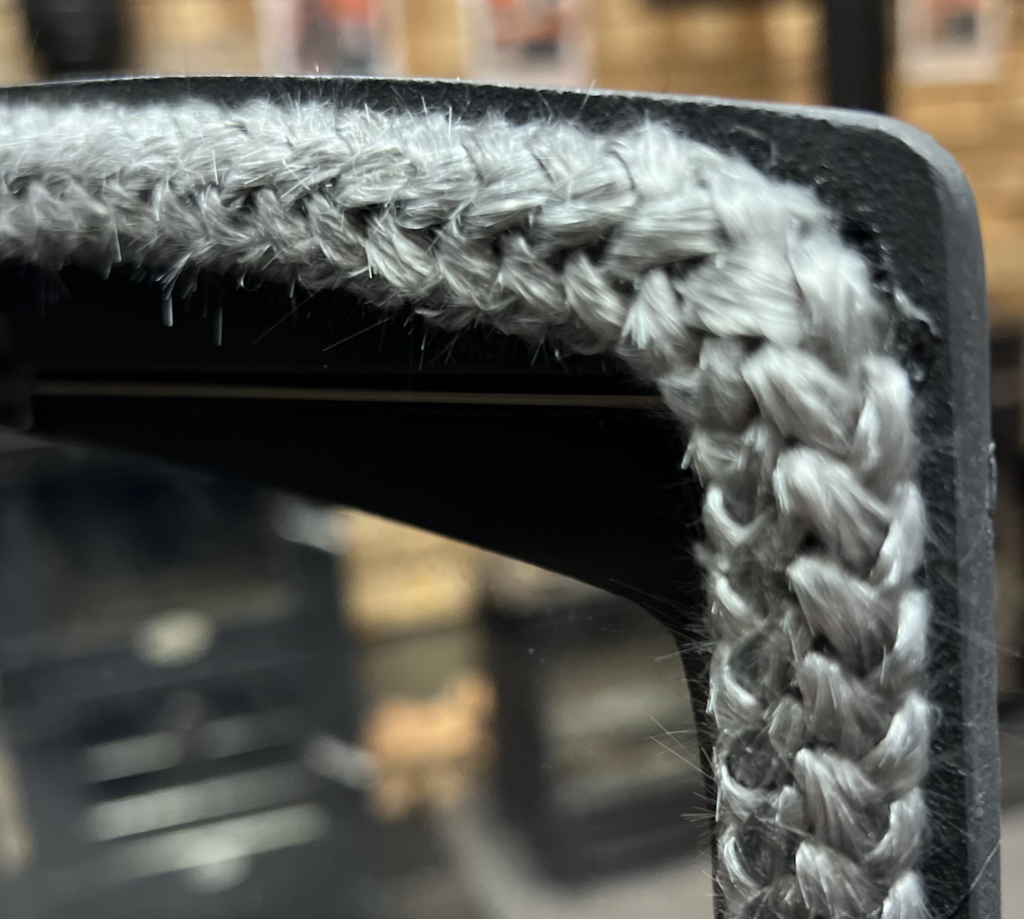
Step 7: Check the Stove Seals
Inspect the door seals and gaskets for wear and tear. If the seals are damaged, replace them to maintain airtight combustion and improve efficiency. Steve seals are an essential part of the stove; they are heat-resistant and usually made of fibreglass rope or other durable materials that line the edges of a wood-burning stove’s door. They create an airtight seal when the door is closed, ensuring efficient combustion and preventing smoke or gases from escaping into the room. Signs that your stove seels need replacing include:
Visible Gaps or Fraying – The gasket looks worn, brittle, or has started to peel away.
Smoke Leakage – Smoke escapes around the door when the stove is in use.
Reduced Heat Output – The stove isn’t as effective at warming your space.
Door Doesn’t Close Tightly – If the door feels loose, the seal may no longer be airtight.
If you suspect your stove seals need replacing, talk to a professional, or if you are competent to do so, replace them yourself.
Step 8: Dispose of Waste Properly
Make sure ashes are completely cool before disposing of them. Ashes can be spread in the garden or disposed of in a sealed metal container. Read more on ashes here.
Final Tips for Stove Maintenance:
Use seasoned wood to reduce soot and creosote buildup.
Empty the ash pan regularly to maintain airflow.
Have your chimney professionally inspected and cleaned annually.
If you have any questions about looking after your Charlton & Jenrick stove, please get in touch.